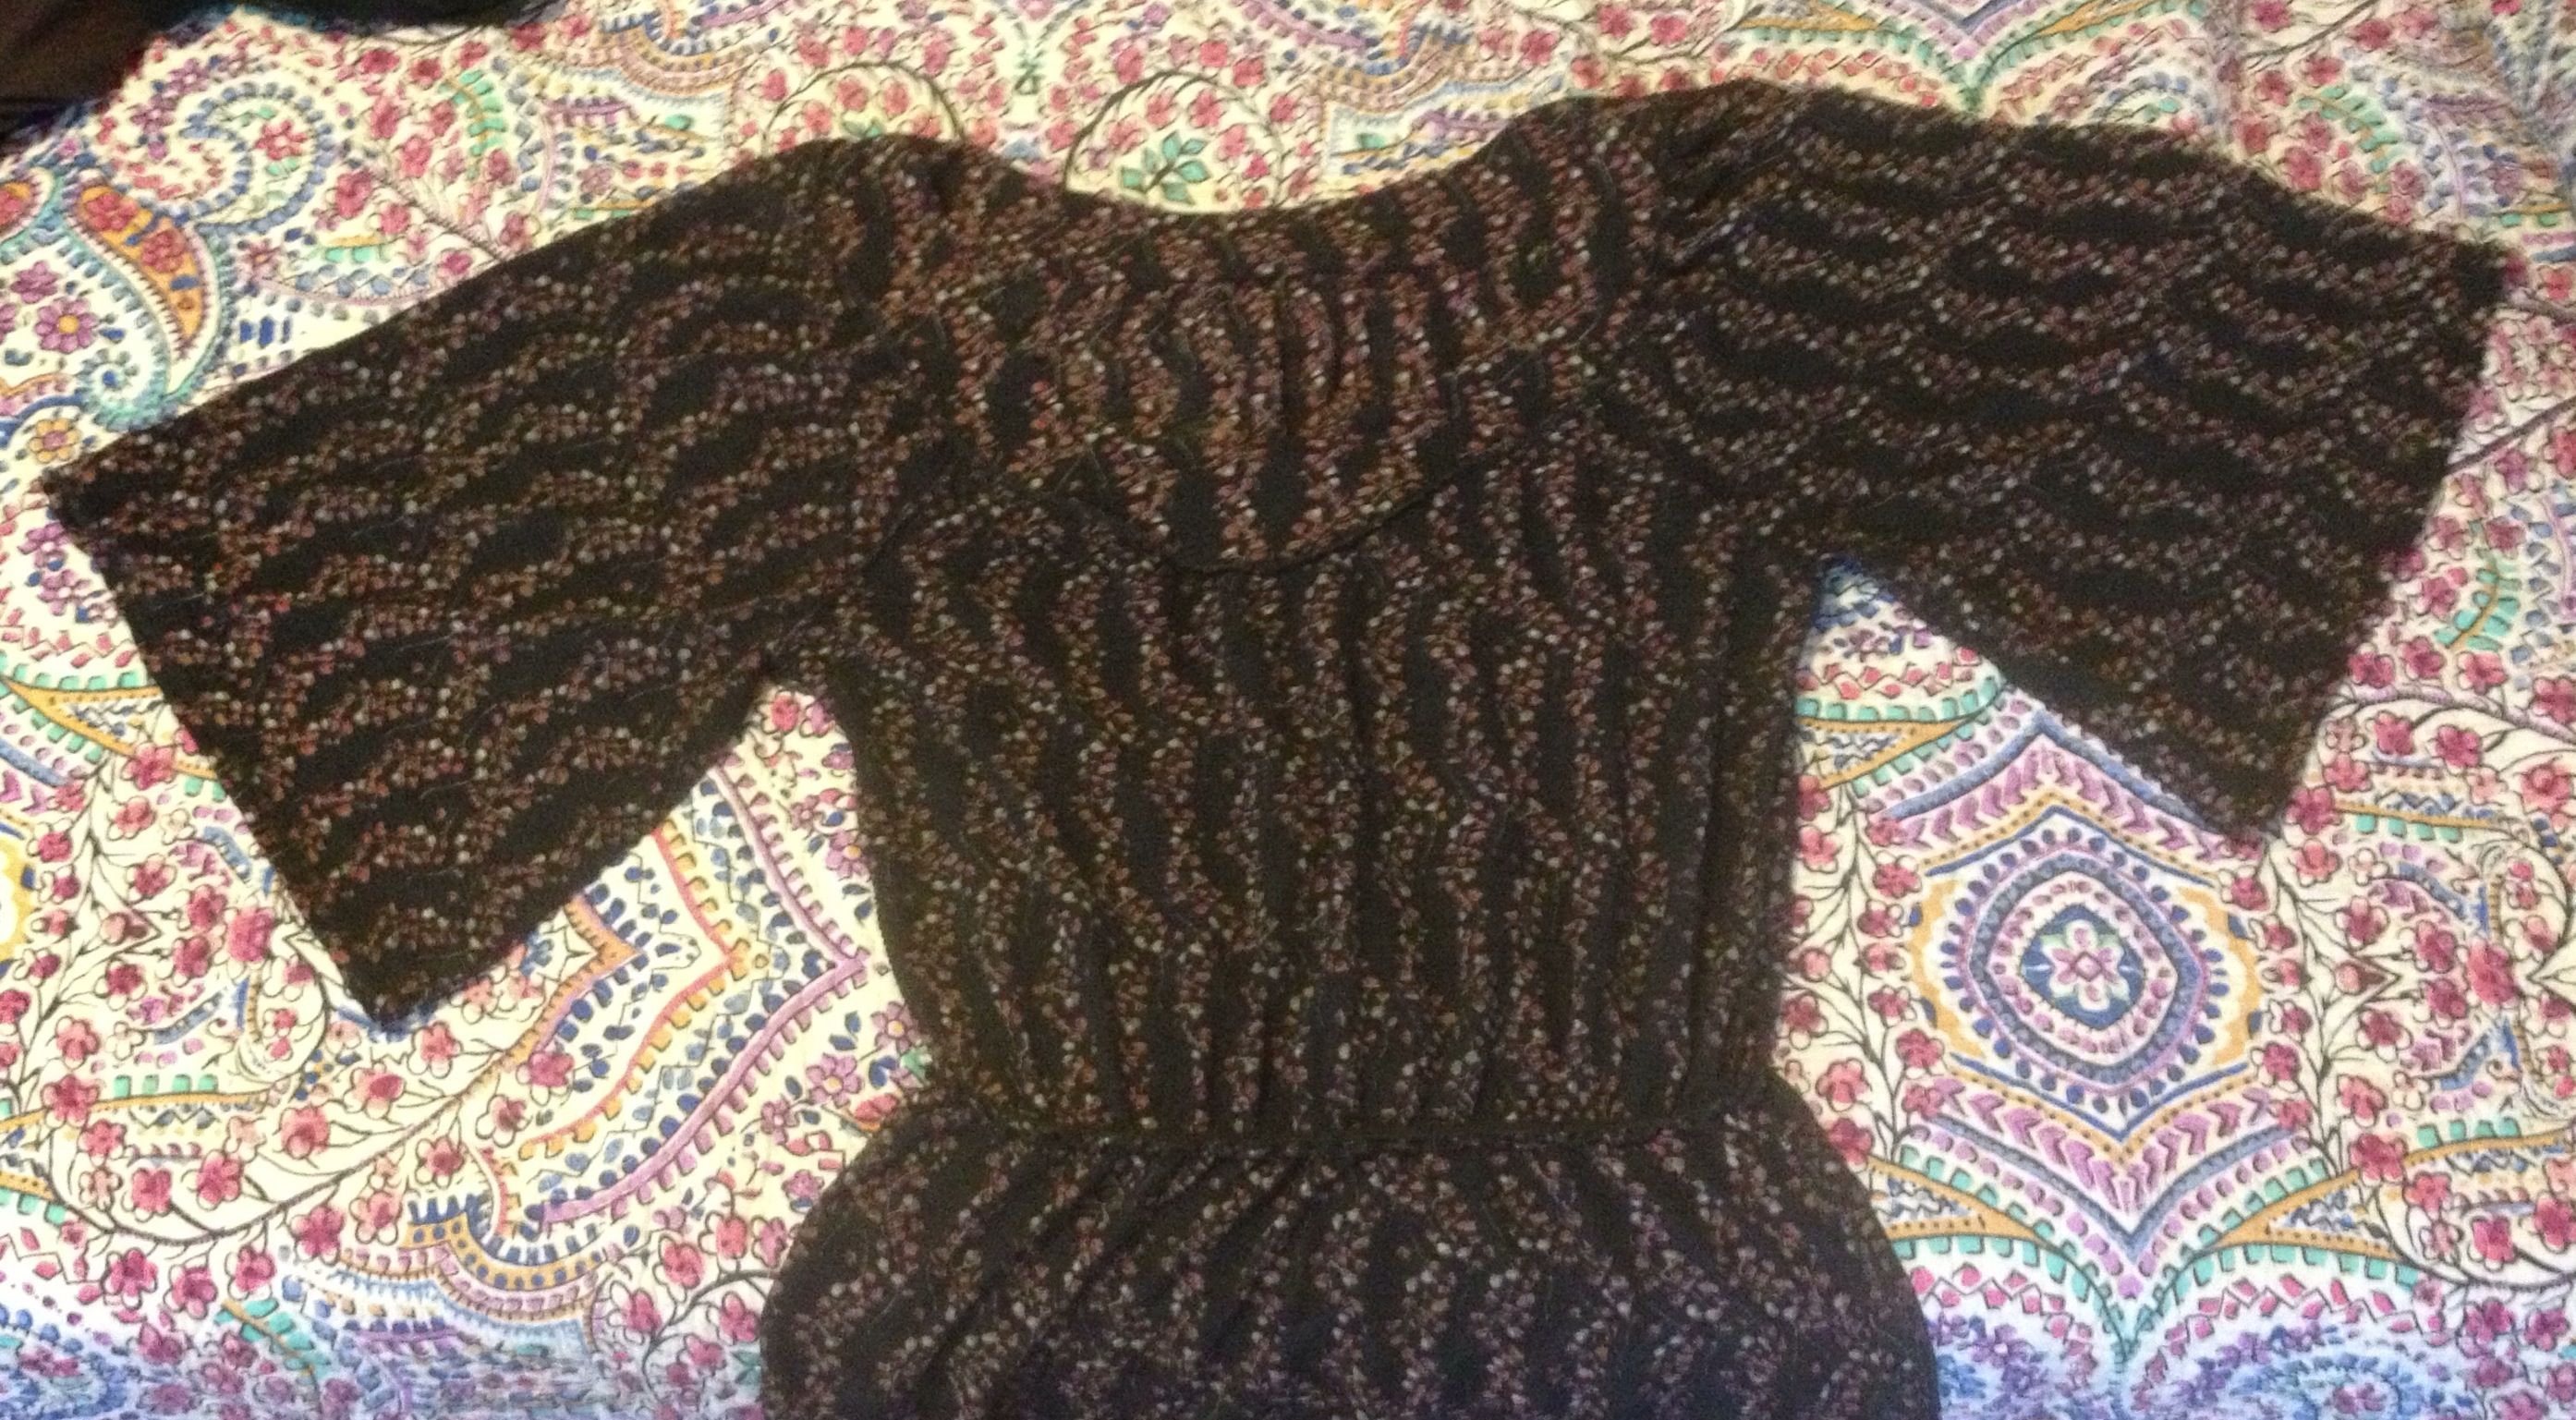
I have been putting off altering this dress for a long time. I love it, but just can’t stand the bell sleeves.
I had an extra few minutes (seriously that’s about how long it took) and I thought, let’s do this.
So here are the step by step instructions for how to get rid of the bell sleeves on a top or dress. (It took longer to write this post in WordPress then it did to alter both sleeves. Not kidding!)
– – – – – – – – – – – – – – – – – – – – – – – – – – – – – – – – – – – – – – – – – – – – – – – – –
Step 1: Determine how big you want the arm opening. You can figure this out by measuring the circumference of your arm where the end of the sleeve is on your arm. Then divide this number in half to determine how big the sleeve opening should be. If the fabric has some stretch, you’re golden. If the fabric doesn’t have any stretch, you may want to add 1/2″ – 1″ just so it’s not cutting off the circulation of your arm. This is your preference.
Step 2: Make a line in pins (or tailors chalk if you have it handy) from the armpit seam to your sleeve opening point.
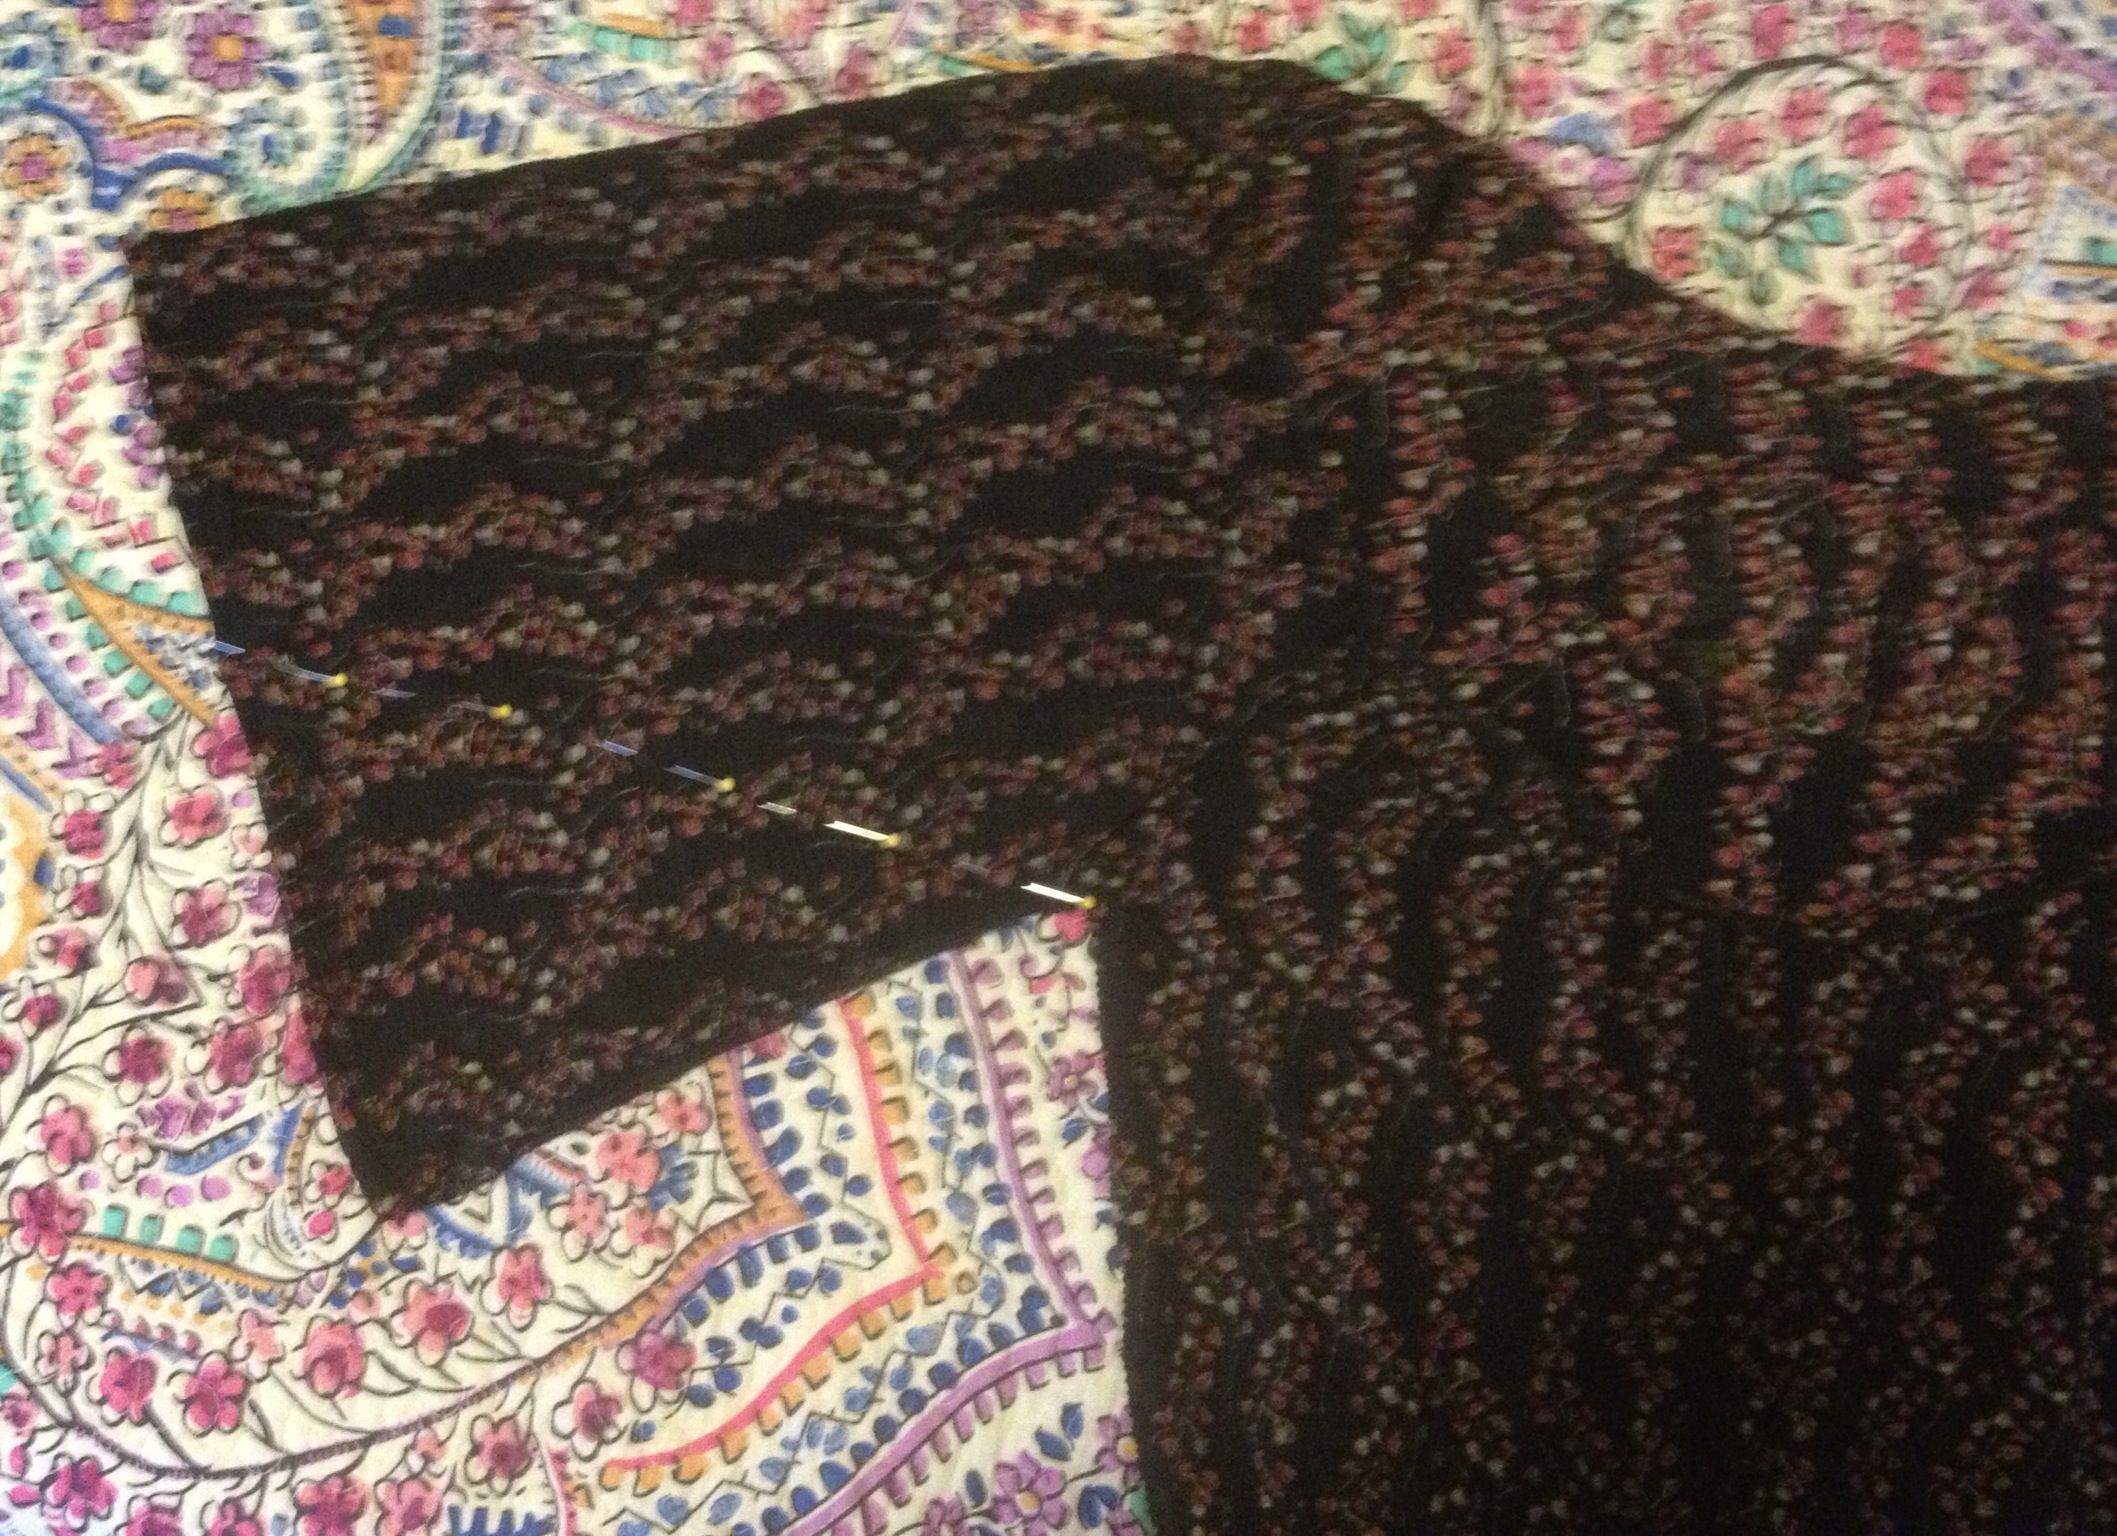
Step 3: Sew along this line. (Check out the photo below with the tape measurer showing you the line to follow.